Post-Surgical Ergonomic Chairs: 3-Phase Setup
By Owen McKay • 19th Feb

Recovering from hip, knee, or back surgery while working from home feels like walking a tightrope. You're cleared to resume desk tasks, but sitting, once automatic, now demands strategy. The right post-surgical ergonomic chairs and a methodical setup can turn this tension into confidence. I've seen it firsthand: when teams dial in recovery office seating in manageable phases with clear controls and labeled adjustments, return-to-work transitions become smoother, pain complaints drop, and focus returns faster than expected.
Why Post-Surgical Chair Setup Differs from Standard Ergonomics
Standard ergonomic advice assumes a healed spine and full range of motion. Post-surgical recovery is different. Your healing tissues (whether a freshly fused lumbar disc, repaired knee tendons, or reconstructed hip socket) need active support, not passive tolerance. The wrong chair doesn't just cause discomfort; it can subtly delay healing or trigger compensation patterns that linger for months.
The good news: controls are the user interface between your body and recovery. A chair with clear, accessible adjustments (labeled levers, intuitive tensioning, and memory-safe settings) lets you dial comfort precisely as your healing progresses. For a step-by-step walkthrough of each control, see our adjustable chair setup guide. Small fit tweaks compound into big comfort and focus dividends over weeks and months.
This three-phase approach breaks recovery into realistic milestones, each with a specific chair setup goal.
Phase 1: Medical Clearance & Foundation Setup (Weeks 0-2)
Your surgical team has given you the green light to sit at a desk, but with conditions. Your first job is to honor those constraints while establishing baseline comfort.
Define Your Medical Constraints
Before you touch a single lever, document your clearances:
- Sitting duration limit (e.g., 15 minutes per session, or 2 hours total daily)
- Posture restrictions (e.g., no forward bending, no spinal rotation, no hip flexion past 90 degrees)
- Weight-bearing limits (e.g., no standing longer than 10 minutes)
- Load restrictions (e.g., no lifting over 10 pounds)
Write these on a card and keep it near your desk. Your chair's adjustments must support these limits, not work against them.
Select a Chair Built for Recovery, Not Speed
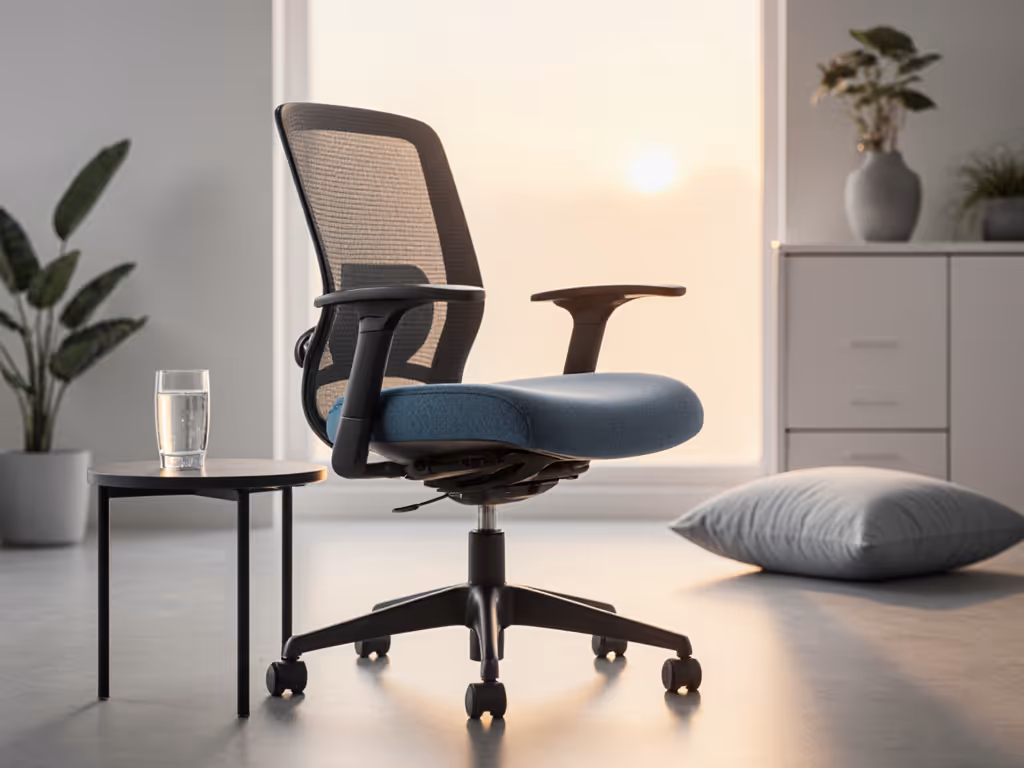
Look for chairs with these Phase 1 essentials:
Proper seat height and depth: You need a chair that lets you sit down and stand up without straining or leveraging your healing area. Measure from your knee to your heel while seated in a reference chair, and match your new seat pan to that length. The seat should be low enough that you can get in and out safely while respecting your doctor's restrictions.
Soft cushioning with adequate support: During the first two weeks, your sitting comfort is fragile. Thick cushioning reduces pressure on sensitive areas. Look for memory foam or contoured designs that distribute weight evenly without creating hot spots on your tailbone or thighs. Avoid rock-hard industrial chairs. They will work against your goal.
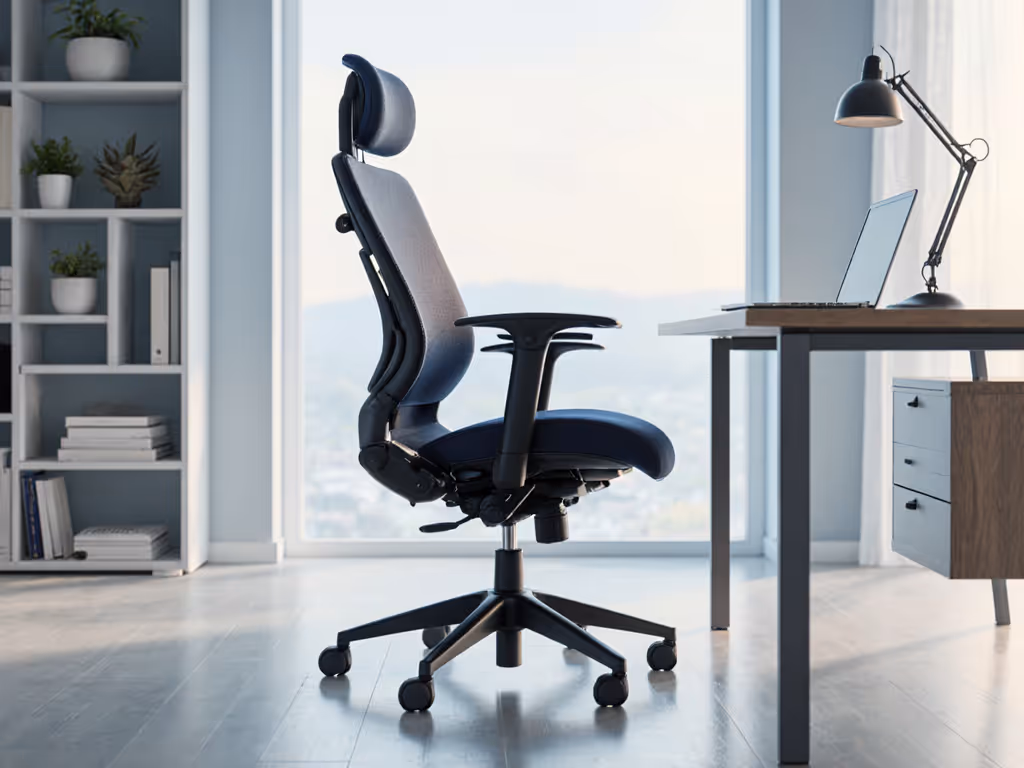
Lumbar support that can be fine-tuned or augmented: Your lower back bears the most load after spinal or hip surgery. Choose a chair with built-in lumbar adjustment, or plan to add a rolled-up towel or lumbar support cushion. The support should cradle, not push aggressively. Learn how proper lumbar support maintains your natural spine curve during long sits.
Breathable fabric or mesh backrest: Sweating during recovery is common, and trapped moisture adds discomfort. Mesh or breathable fabric helps.
Establish Your Baseline Settings
Once you have your chair, spend 20 minutes dialing in Phase 1 settings. Use a checklist:
- Seat height: Adjust so your feet rest flat on the floor and your knees bend at 90 degrees. Your thighs should not press into the seat edge.
- Backrest angle: Set it to 100 to 110 degrees (slightly reclined, not upright). This reduces stress on your healing tissues.
- Armrest height: If the chair has armrests, set them so your elbows rest at 90 degrees and your shoulders stay relaxed. If armrests feel uncomfortable, deactivate them for now.
- Lumbar support position: Adjust the lumbar support (if adjustable) to sit at your lower back curve. Add a cushion if needed.
- Recline tension: If the chair reclines, adjust the tension so it feels stable, not locked, and not drifting. You may not recline much yet; that's fine.
Take a photo of the lever positions or write down the settings. You're building a baseline profile, your Phase 1 anchor.
Time-Box Your Sitting Sessions
Stick to your medical clearance limits strictly. Set a timer. When it expires, stand, walk gently, and stretch (within your restrictions). This is not about toughing it out; it's about training your body to trust the chair and your discipline.
Phase 2: Progressive Loading & Control Refinement (Weeks 2-6)
As swelling decreases and your surgical site stabilizes, your comfort boundaries shift. Phase 2 is about expanding your sitting window while refining the controls.
Reassess Your Constraints
At your follow-up appointment, ask:
- Can I sit longer (e.g., 30 minutes per session)?
- Are there new movement restrictions lifting?
- Should I avoid sitting in any particular posture?
Update your constraint card. These changes unlock new adjustments.
Dial In Seat Cushioning & Armrest Geometry
Now that you're sitting longer, pressure distribution matters more. Spend 15 minutes tuning:
Cushion firmness: If your chair has adjustable cushion tension or if you've added an extra cushion, test different positions. The goal is support without a pressure peak. You should feel cradled, not compressed.
Armrest positioning for typing: If you're cleared to work at a keyboard, armrest geometry becomes critical. Set armrests so your elbows rest lightly on them, just enough to reduce shoulder strain, not to support your full arm weight. Your forearms should be roughly level with your desk surface.
Footrest or leg rest: If your medical clearance allows it, a footrest or reclining footrest can reduce strain on your hips and lower back during long sits. Elevating your legs even slightly shifts weight and increases comfort.
Expand Your Desk Positioning
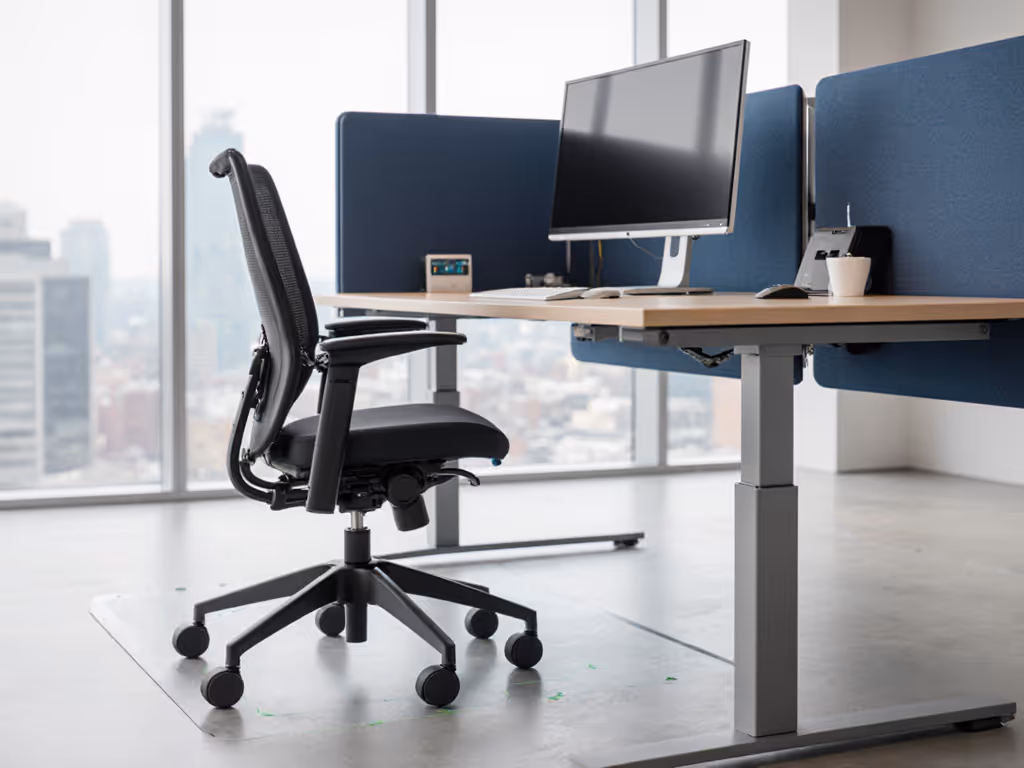
Now that you're sitting 30+ minutes per session, optimize your entire desk setup to reduce cumulative strain:
- Monitor distance and height: Position your screen so the top of the monitor is at or slightly below eye level, about an arm's length away.
- Keyboard and mouse placement: Keep both close and at a height that lets your elbows stay near 90 degrees. Reaching or reaching up causes shoulder and neck strain.
- Desk height: Your desk should be high enough that you don't slouch forward to type.
- Frequently used items: Arrange your workspace to minimize twisting and reaching. Keep your phone, pen holder, and reference materials within easy reach.
Small adjustments here reduce the cumulative load on your healing back or hip. For a full desk-to-chair checklist, follow our ergonomic workstation setup guide. Little wins add up.
Document Your Phase 2 Profile
Update your settings card with new lever positions, cushion additions, and desk layout notes. You're building muscle memory, and a record that works.
Phase 3: Optimization & Long-Term Sustainability (Weeks 6+)
By Phase 3, you're largely cleared to sit for standard workdays. Your focus shifts from recovery to sustainment, maintaining comfort and preventing new pain patterns.
Unlock Dynamic Posture Shifts
Human bodies aren't built for static sitting, even perfect sitting. Build healthy micro-movements with these dynamic sitting techniques. Now that your healing is stable, introduce micro-movements:
- Recline slightly: Adjust your chair's recline tension (if available) so you can lean back 5 to 10 degrees for focused reading or thinking. This changes the load on your spine without destabilizing healing tissue.
- Adjust armrest engagement: Some hours, rest your arms on the armrests; other hours, deactivate them so your shoulders work lightly. Variety beats consistency.
- Try a standing desk segment: If cleared, standing desks can be allies in Phase 3 (but only if they are electrically adjustable). Manual desks require bending or leveraging your spine; electric desks let you adjust at a button press.
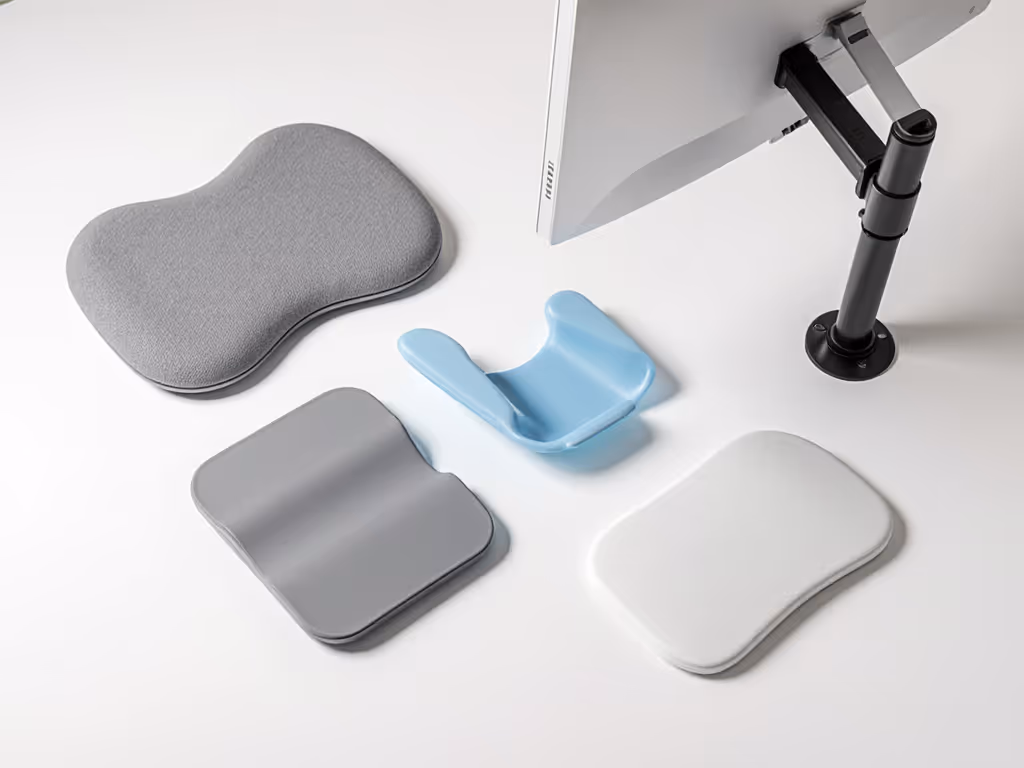
Test Accessory Layers
Your core chair is now proven. Phase 3 is where targeted add-ons shine:
- Lumbar support cushion or seat cushion: If chair-only support feels thin, add a memory-foam lumbar roll or seat cushion. These are reversible, so you can remove them if they become unnecessary.
- Keyboard tray or wrist rest: If keyboard strain emerges, a negative-tilt keyboard tray can help. Pair it with a wrist rest.
- Monitor arm: Allows micro-adjustments to screen height and depth without moving your entire desk.
- Desk footrest or pedal: Engages lower-leg muscles during long sits, reducing static fatigue.
Add one accessory at a time, wait a week, and assess. Don't stack solutions blindly. Simplicity first.
Create a Maintenance Routine
Your chair is now your workhorse. Protect it:
- Weekly: Check that all levers, bolts, and armrests are snug. Wiggle the base; if it feels wobbly, tighten the wheel bolts.
- Monthly: Clean the mesh or fabric backrest to prevent dust and sweat buildup. If the chair has a gas cylinder, listen for hissing (sign of a slow leak, so document and plan for replacement). To extend longevity and avoid odor or fabric wear, use our ergonomic chair cleaning guide.
- Quarterly: Reassess seat cushion firmness. If it's flattening, consider adding a comfort layer or planning a replacement.
- Annually: Have a physical or occupational therapist spot-check your setup. Habits drift, and a professional eye catches them early.
Revisit Your Settings Quarterly
Your body changes. A chair setting that felt perfect in week 8 might need tweaking in month 4. Every three months, spend 15 minutes:
- Sit as you normally do, and don't "correct" your posture artificially.
- Notice areas of tension: neck? shoulders? lower back? thighs?
- Make one adjustment: raise the lumbar, lower the armrest, or tilt the seat forward 2 degrees.
- Sit again and compare.
- Log the change.
This iterative approach is how small tweaks compound. You're not chasing perfection; you're chasing your optimum.
How to Select Your Chair: Three Quick Filters
If you're shopping for a post-surgical chair, use these filters:
Filter 1: Adjustability Breadth Look for chairs with separate controls for seat height, backrest recline, lumbar support height (if built-in), and armrest height. The more independently adjustable elements, the better. Avoid one-lever designs; they lock multiple settings together and limit your Phase 1 and Phase 2 flexibility.
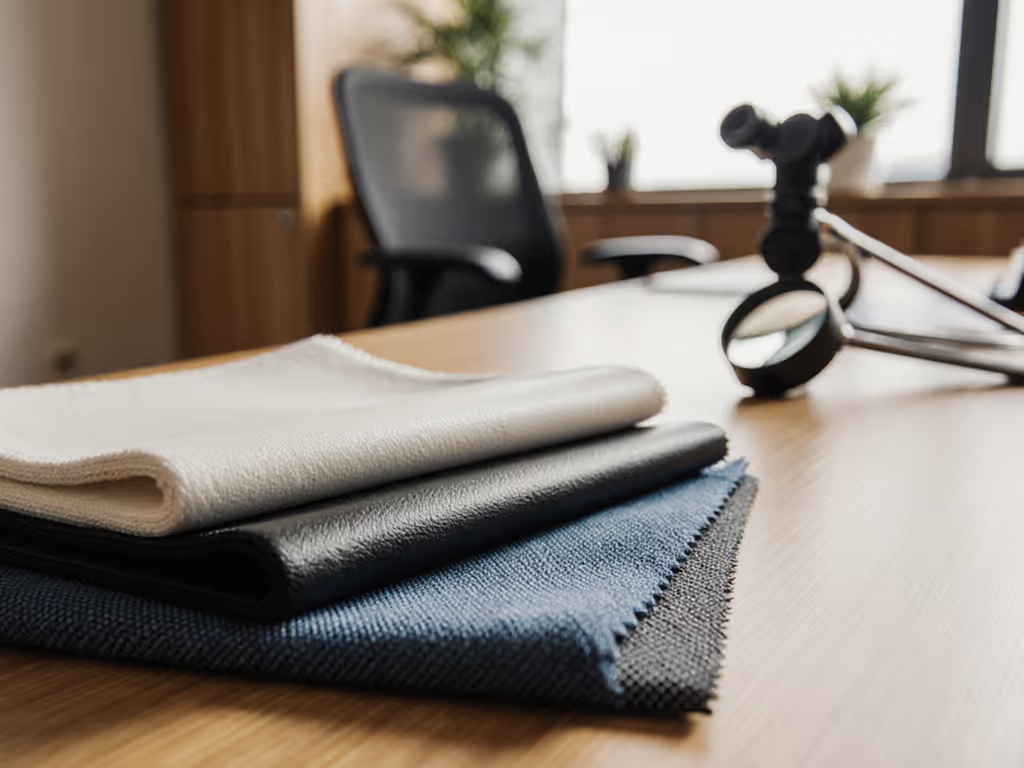
Filter 2: Cushion Quality & Breathability Memory-foam cushioning is valuable post-surgery because it molds to your shape and redistributes pressure. Breathable mesh or fabric matters; trapped sweat and heat slow healing and worsen discomfort. If the chair is upholstered in dense fabric, plan to add a breathable layer.
Filter 3: Seat Depth & Armrest Geometry Your seat pan should match your thigh length (measure from knee to heel). Armrests should accommodate typing without forcing your shoulders high. Check these on spec sheets or, ideally, by sitting in a demo. Many people return chairs because the seat is too deep or armrests are too wide.
Quick Reference: Phase 1, 2, & 3 Checklists
Phase 1 Setup (20 minutes, Weeks 0-2)
- Document medical constraints on a card
- Verify chair has soft cushioning, breathable backrest, and adjustable lumbar support
- Set seat height so feet are flat, knees at 90°
- Set backrest to 100 to 110° recline
- Adjust armrests (or disable them)
- Adjust lumbar support to your lower back curve; add cushion if needed
- Photo or note lever positions
- Set timer for medical sitting limit and respect it daily
Phase 2 Expansion (15 minutes, Weeks 2-6)
- Confirm increased sitting duration clearance with your doctor
- Fine-tune cushion firmness and armrest positioning
- Position monitor, keyboard, mouse for your new sitting window
- Add footrest if cleared
- Arrange desk to minimize twisting and reaching
- Update settings card
Phase 3 Optimization (Ongoing, Weeks 6+)
- Enable recline function if available
- Vary armrest engagement throughout the day
- Try a standing desk segment if cleared
- Test one accessory (lumbar cushion, keyboard tray, monitor arm)
- Establish weekly maintenance check (lever tightness, base stability)
- Reassess settings quarterly and adjust one element at a time
Closing: Your Comfort Is a Skill, Not a Luxury
I spent a Monday morning with twelve people and twenty minutes, mapping thigh clearance, dialing tilt tension, and saving each profile on cards. Two weeks later, we saw fewer break tickets and happier postures. That's when I realized: controls are the user interface between struggle and support. The people who succeed post-surgery aren't the ones chasing a "perfect chair." They're the ones who commit to five-minute fit sessions and treat adjustments as tools, not afterthoughts.
Your post-surgical recovery chair isn't a one-time purchase. It's a calibrated system that evolves as you heal. Start with Phase 1 constraints, move through Phase 2 expansion, and settle into Phase 3 sustainability. Each phase has clear, time-boxed actions, nothing vague, nothing overwhelming. Document your settings, respect your limits, and adjust one control at a time.
Small fit tweaks compound into big comfort and focus dividends. Trust the process, trust your chair's adjustments, and trust your body's feedback. You're not just recovering; you're building a workspace that supports your long-term health and performance.
Your Next Step: Start Today
Pick one task from Phase 1 that matches your current recovery stage. If you're in week 1, document your medical constraints and verify your chair's cushioning. If you're in week 3, move to Phase 2: reassess your doctor's clearance and fine-tune your armrest and monitor positioning.
Don't wait for the perfect moment. Small actions, repeated, create momentum. Set a 20-minute timer, grab your settings card, and dial in one lever today. Your future, more-comfortable self will thank you.
Related Articles